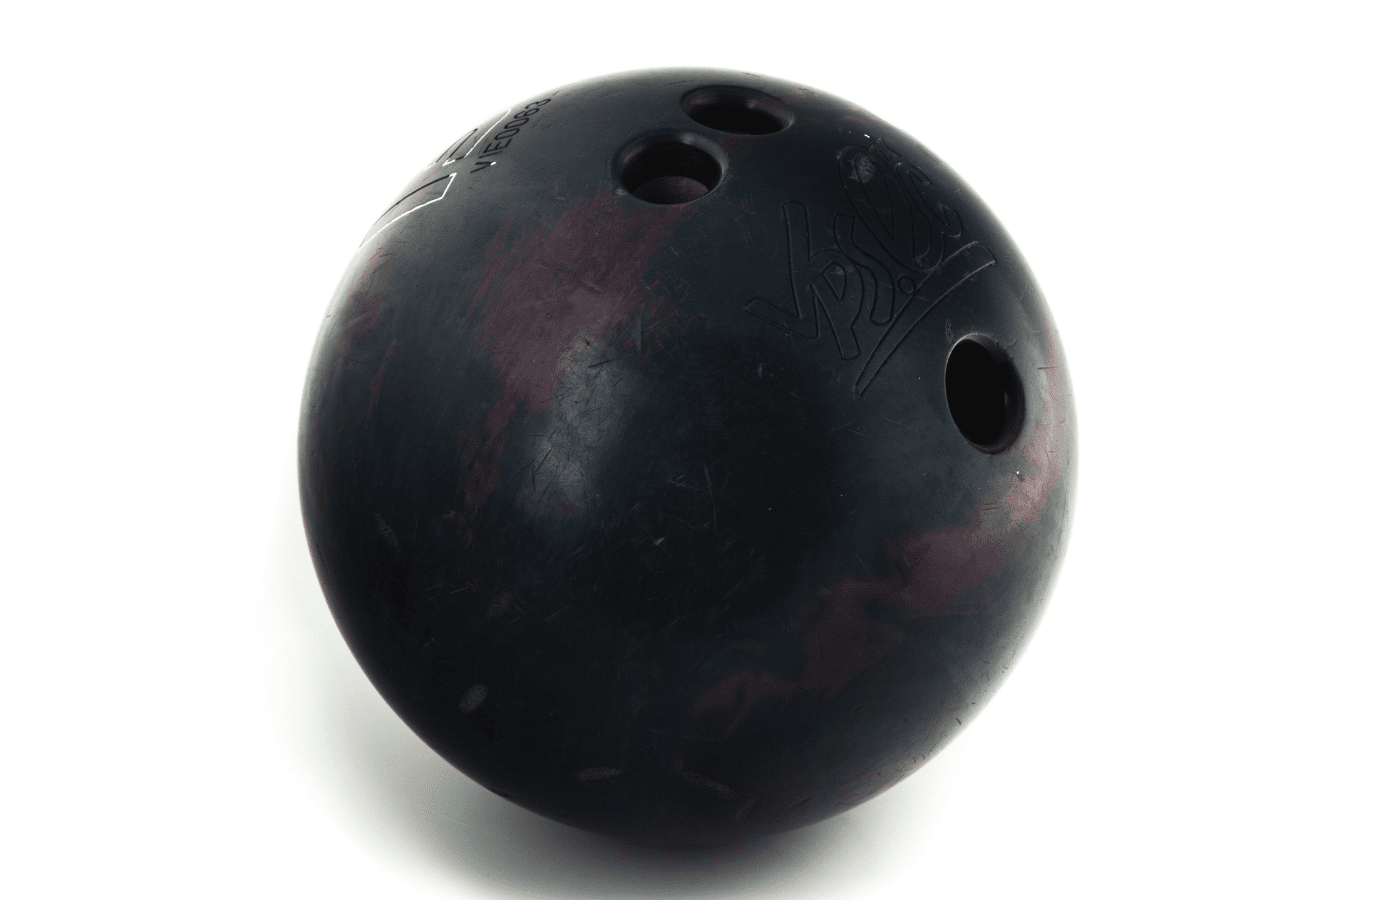
Bowling balls will always absorb oil, dirt and grime during game play. Over time, this filth can adversely affect the ball’s performance, appearance and feel. So, you have to get your ball resurfaced to return it to its beauty, sheen and handling.
What is the average price for resurfacing a bowling ball? There are many options, but it can cost anywhere from $4 or $5 to $30 or $40. This can be something as small as fixing scratches, nicks and dents to resurfacing the entire ball.
Resurfacing extends a ball’s lifespan and keeps it at peak performance. Although you should be cleaning the ball often, getting it resurfaced will be essential. This must happen regardless of how meticulous you are about cleaning it.
What Are the Costs Involved to Resurface a Bowling Ball?
There are three resurfacing options: surface adjustments, spinner cleaning or deep resurfacing. Any amount of resurfacing cleans the pores to restore the ball’s hook ability.
- Surface adjustments mitigate scratches, nicks, bumps and dents. This can cost anywhere from $4 to $5.
- Spinner cleaning removes dirt, oil and grime deep within the ball and can cost around $10 to $12.
- Deep resurfacing will remove a thin layer off of the entire circumference of a ball with a Haus Machine. This costs between $30 and $40, depending on the damage.
How Often Should a Bowling Ball Get Resurfaced?
On average, you should get your bowling ball fully resurfaced at least once per season or every 60 games. This will keep your ball performing and looking like new.
How Do You Clean and Resurface a Bowling Ball?
After every game, you should clean your ball with a microfiber towel and quality cleaner. Also, use an Abralon pad for miniscule sloughing. Abralon pads are abrasive disks that come in grits ranging between 360 to 4000.
There are also Adrenaline Ball Steroid Wipes that penetrate into the ball’s micro pores to restore performance and increase oil absorption. You should use these after every three to six games.
Pro Shop Resurfacing
Your local pro shop will have all the necessary tools, grits and sanding pads. This means it goes into the hands of someone experienced with resurfacing, which reduces the chances of mistakes.
If you are new to the whole concept of resurfacing, take your ball to a professional. Even if you only want a light job, take it to the pro shop until you can understand more about how to do it on your own. This is because it requires careful attention to detail with focus and concentration.
Resurfacing on Your Own
If you don’t know what you’re doing, resurfacing the ball yourself can disrupt the ball’s balance. So, if you are going to do this on your own, it’s crucial that you do several hours of research and consideration before you attempt it.
Look at videos online of people showing how they resurface their bowling balls, call your pro shop with questions and confer with other seasoned bowlers. Once you have the basic process understood, devise a clear plan of attack. There is very little room for error here, so you must be methodical and precise.
Two Methods for Resurfacing
In general, there are two resurfacing methods: by hand or at-home with a spinner. Regardless of which method you go with, you’ll need the following supplies:
- Sanding Paper, Disks or Pads: The idea is to pay close attention to how much you sand a particular area and for how long.
- Water Bottle ; Bowl: These will be for rinsing, controlling and reducing the amount of dust residue on the ball as well as your sanding agent.
- Cleaners, Towels, Polishes ; Pads: These will clean, wipe and polish the ball after every stage.
We recommend using a bowling ball resurfacing kit like this one. It comes with a total of 7 abralon pads with multiple different grits to give you the perfect sand and polish.
By Hand
Of both methods, resurfacing by hand is time-consuming and also opens the way for mistakes. Resurfacing basically equates to sanding the ball down and this will change how the ball reacts down the lane. As a general rule, lower grits used on a rougher surface will react sooner than with a higher grit used on a smoother surface.
Use the following steps as a guide:
- Put your ball into an area where it will be secure but you can rotate it every now and then freely.
- Once you begin sanding, dip your sanding agent in the water bowl on occasion to remove dust residue and to prevent uneven sanding.
- Spray or pour bits of water throughout the sanding process to remove dust and other debris. This will also help keep the ball cool to control the heat created by the friction of sanding.
- When you’re done sanding, reapply polish to the surface of the ball. This will get rid of any excess debris trapped in the pores.
- Remember, always use a new towel or pad when you switch chemicals. You do not want to mix substances on the same towel.
At-Home Spinner Resurfacing Kits
At-home spinners are faster than doing it by hand and will help ensure evenness while minimizing mistakes. If a spinner isn’t available, there are some home resurfacing kits. But, you’ll have to do some product comparisons to see which one will be best. The following are instructions for a spinner:
- Place the center of the grip at the top and sand the exposed area. If there are different speeds on the spinner, always use the lowest setting for sanding. Pay attention to the pressure and time you spend on each exposed area to ensure even removal.
- When using a low grit, apply more pressure for a shorter amount of time. For a higher grit, use less pressure for longer.
- After sanding the exposed area, reposition the ball to expose the center of the grip and sand that area with the same amount of time, speed and pressure. Then, rotate the ball about 90 degrees and continue sanding in a similar fashion.
- Rotate the ball 180 degrees to ensure you sanded the entire surface of the ball. Check it for any lines running opposite of the direction you were just working in. These can affect how the ball reacts.
- Spritz the ball down with cool water and allow it to dry. Then, set the spinner to the highest setting and apply cleaner with a fesh pad or towel. Follow this with polish and a new, clean towel/pad.
Final Thoughts
Bowling ball maintenance, cleaning and repair is a necessary aspect to keep your ball in tiptop shape. Always clean it after each use with a microfiber towel and a good cleaner. But, you should also use the Adrenaline Steroid Wipes to ensure the oil stays away.
Always take your bowling ball to a pro shop for resurfacing. Depending on how much you intend to get done, expect to pay anywhere from $5 to $30. Because an experienced professional will handle this, it minimizes the likelihood of mistakes.
Don’t resurface the ball yourself unless you are certain you know what you’re doing. When in doubt, take it to the pro shop. This is not something you want to leave up to chance because there’s very little room for error. Any misstep could ruin your beautiful ball forever.


